Creating a dice game in Python (part 3)

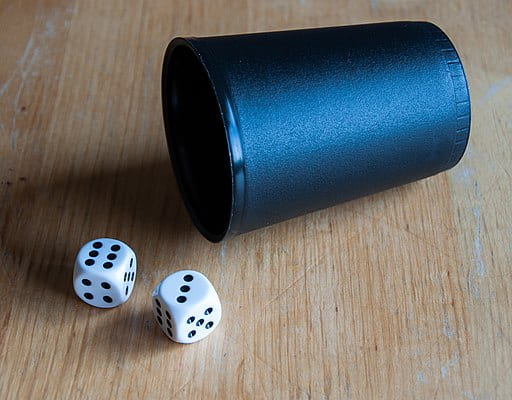
In this post we continue developing a dice game in Python.

  • In Iteration 1 we coded a single round of the dice game for one player.
  • In Iteration 2 we added an additional loop so that multiple rounds were completed until the target score is reached.

Iteration 3

For this iteration we add a second player to the game. A high-level design for the revised game is shown below.

set target
set score1 to 0
set score2 to 0

while score1 < target and score2 < target
   player1 completes their turn
   update score1
   player2 completes their turn
   update score2
end while

output winner and scores

In the algorithm above, if player 1 reaches the target score, then player 2 will also get a turn before the loop terminates. However, the game should terminate as soon as one player reaches the target score. Another issue that we need to consider is ensuring that the amount of repeated code is minimised. A literal interpretation of the pseudocode above can lead to repeated code which we should avoid.

We improve the algorithm by adding a current player counter to keep track of who the current player is.

set target
set score1 to 0
set score2 to 0
set current_player to 1

while score1 < target and score2 < target
   current_player completes their turn
   if current_player = 1
   then
      update score1
      set current_player to 2
   else
      update score2
      set current_player to 1
   end if
end while

output winner and scores

After refining the algorithm to reduce the amount of repeated code we implement the algorithm in Python.
The first part of the code, as shown below, includes the necessary package imports together with variable initialisations. The variable current_player is used to track which player has the current turn. Initially this has a value of 1 (for player one) and will alternate between 1 and 2 until the game is complete.

import random
import time

target = 200
score1 = 0
score2 = 0
current_player = 1

The next block of code contains the main control loop and code for running the current player's round. The condition for the control loop (highlighted in the code listing) checks whether both scores are below the target score. The next line of code provides an indication of who the current player is.

while score1 < target and score2 < target:
    print("Player", current_player, "turn")
    round_score = 0
    valid = True
    while valid:
        roll1 = random.randint(1, 6)
        roll2 = random.randint(1, 6)
        total = roll1 + roll2
        if total == 7:
            valid = False
            print(total)
        else:
            round_score = round_score + total
            print(total, end=", ")
    print("You scored", round_score, "this round")

The block of code starting at line 23 is responsible for printing the total score of the current player and then updating the value of the current player before the while loop runs again. The code includes a conditional statement that checks who the current player is. Note that the code in the two branches of the condition block are very similar. This provides further opportunities for improving (refactoring) the code to reduce repetition. This is explore in the next part of the tutorial where we generalise to any number of players.

    if current_player == 1:
        score1 = score1 + round_score
        print("Total score for player 1 is", score1)
        current_player = 2
    else:
        score2 = score2 + round_score
        print("Total score for player 2 is", score2)
        current_player = 1
    time.sleep(1)

The final block of code outputs the winner of the game together with the final score. The winner is determined by comparing the scores of the two players within an if statement condition.

if score1 > score2:
    print("Player 1 wins", score1, "to", score2)
else:
    print("Player 2 wins", score2, "to", score1)

Example output that is generated when the code is run is shown below. Note that for brevity the output has been elided with only the first three and last round shown.

Player 1 turn
9, 10, 11, 6, 7
You scored 36 this round
Total score for player 1 is 36
Player 2 turn
2, 8, 10, 7
You scored 20 this round
Total score for player 2 is 20
Player 1 turn
6, 5, 9, 6, 9, 11, 10, 6, 9, 7
You scored 71 this round
...
Player 2 turn
11, 8, 11, 4, 6, 6, 5, 10, 5, 9, 7
You scored 75 this round
Total score for player 2 is 234
Player 2 wins 234 to 154
Alice Tutorial: Kangaroo hop

In this example we use sequential and parallel programming constructs, together with a simple loop to program a kangaroo hopping across the screen.

If you are new to Alice you may wish to look at the Getting Started and Hello World tutorials first.

Creating the world

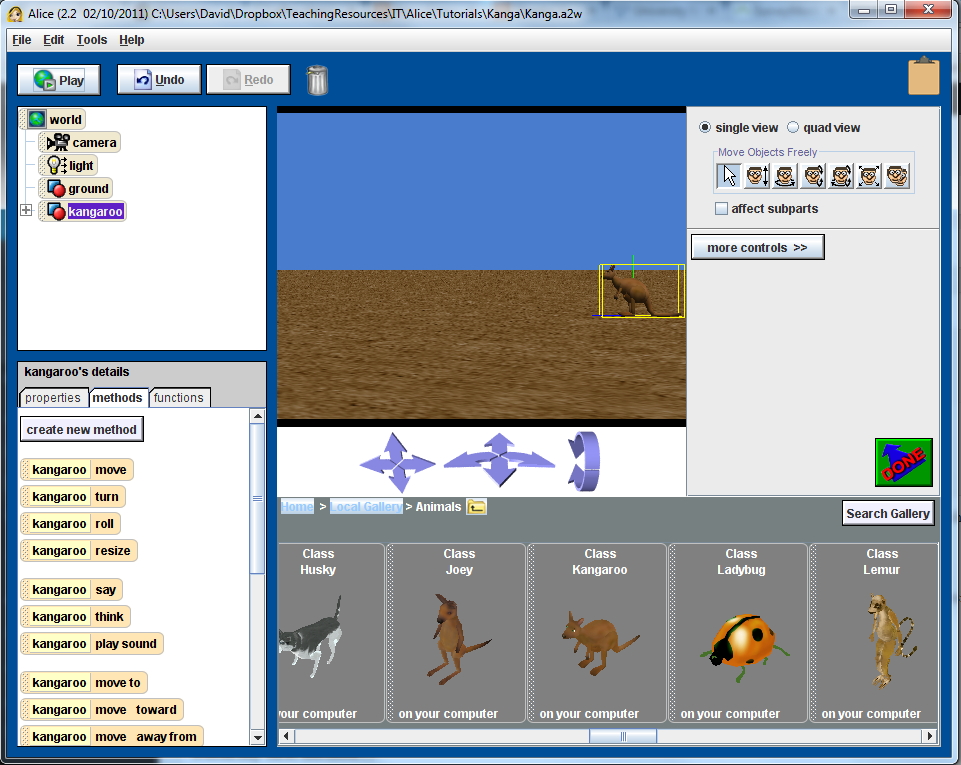
Firstly we create a new world and add a kangaroo to the world. Orient the Kangaroo so that it is facing towards the opposite side of the screen.

Setting up the world

Setting up the world

Moving the Kangaroo

To move the Kangaroo we want to make it look like it is hopping across the screen. To do this we need to make the Kangaroo move forward at the send time that it moves up then down.

Before writing any code we will come up with a simple design.


Do Together
   Move the Kangaroo forward
   Move the Kangaroo up and down

We then refine our design by splitting the last line into two instructions, one to move the kangaroo up and the second to move the kangaroo down.


Do Together
   Move the Kangaroo forward
   Do in order
      Move the Kangaroo up
      Move the Kangaroo down

This can now be easily coded in Alice by deciding how far you wish to move the Kangaroo in each of the move commands, noting that it should move the same distance up and down. When you run the resulting program you will most likely notice a slight problem. The Kangaroo will move up and forward at the same time, then move straight down. The issue is with the timing of the each of the move commands. The default time taken to complete a command in Alice is 1 second. To fix the problem we need to complete the move up and down commands in a total of 1 second. This means that we need to change the timing for each of the last two commands to 1/2 second each. This is represented by the following updated design.


Do Together
   Move the Kangaroo forward for 1 second
   Do in order
      Move the Kangaroo up for 0.5 seconds
      Move the Kangaroo down for 0.5 seconds

To code this change we need to select the duration option from the more option list at the end of the move commands and change the time to 0.5 secs for each of the last two commands.

Repeating behaviour

The kangaroo should now take a single hop, run your program to test that is working correctly.

One hop however is not very exciting, we wish to make the kangaroo hop multiple times. Rather than having to copy the code multiple times we will use a simple loop to repeat the behaviour.

Click on the Loop button at the bottom of the screen, drag it into the programming panel (below your existing code) and select 5 times. Then drag your existing code into the loop. Run the program – the kangaroo should now hop five times across the screen.

The Final Code

The final code for the Kangaroo hop program is shown below. Notice that I’ve also added some additional code so that a sound is played as the kangaroo hops. A short delay is also introduced using the wait command.

Methods

world.my first method ( )

No variables

  Loop 5 times times
  Do together
  kangaroo move forward 2 meters
  Do in order
  Wait .1 seconds
  kangaroo play sound world.wHOP (?:??)
  Do in order
  kangaroo move up 1 meter duration = 0.5 seconds
  kangaroo move down 1 meter duration = 0.5 seconds

Alice Tutorial: Hello World


The Hello World program has traditionally been the first programming exercise that students are introduced to when they learn a new language, so why should we be any different in Alice.

Check out http://c2.com/cgi/wiki?HelloWorld for further information and a brief history.

Creating a new world

The first step in making a program in Alice is to create a new world. This is the environment in which all of your characters and objects will interact. There are six world templates to choose from. I have selected the grass world.

Select_Template

Adding a character to your world

The next step is to add a character to your world. To do this click on the Add Objects button. Then browse through the Local Gallery until you find the People folder. Open the People folder and select a suitable character. For this example I have selected the DJ character.

Select_ObjectWriting your first program

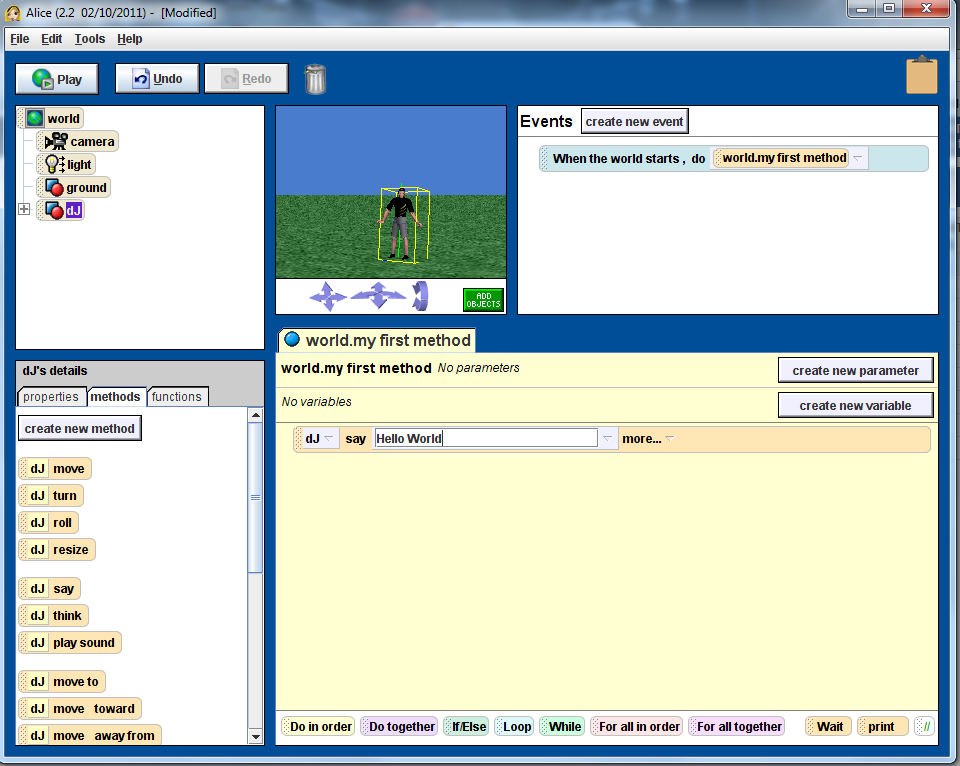
In this step we write our first bit of code. To do this click on the dJ object in the top left hand panel. Then make sure that the method tab under dJ’s details is selected. Click on the dJ say method and drag it across to the my first program panel. Click on the text next to say and change the text to “Hello World”.

ProgramRunning your program

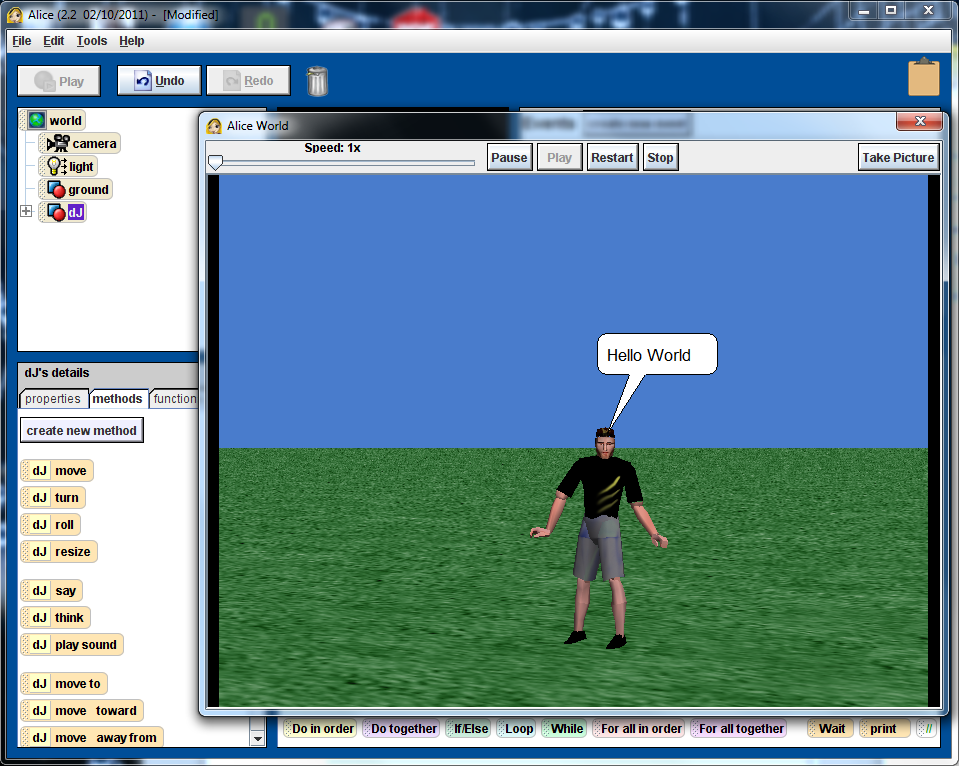
Now it is time to check that your program works. Click on the Play button. This will open a new window and run your program. The result should look like the window below. Note that the text will only show for one second.

Play

Code Listing

Events

When the world starts
Do:
world.my first method


Methods

world.my first method ( )

No variables

  dJ say Hello World duration = 10 seconds

Extensions

Ok you’ve created your first program. Now is probably a good time to explore a little further. Here’s some ideas:

  • Extend the time that the speech bubble is showing by setting the duration attribute.
  • Introduce a second character who can say something in response
  • Create a short play/story that involves interaction between the two characters.