In this example we use sequential and parallel programming constructs, together with a simple loop to program a kangaroo hopping across the screen.
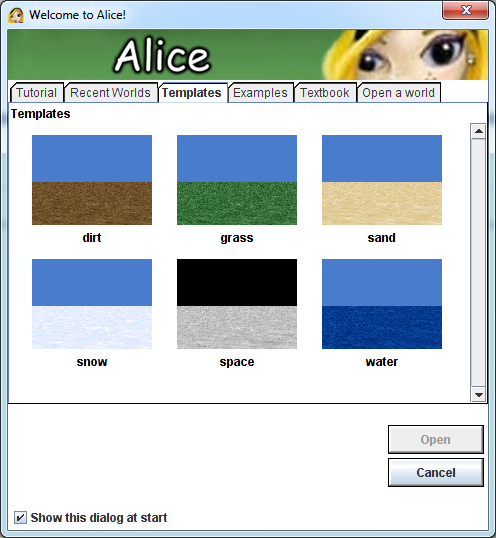
If you are new to Alice you may wish to look at the Getting Started and Hello World tutorials first.
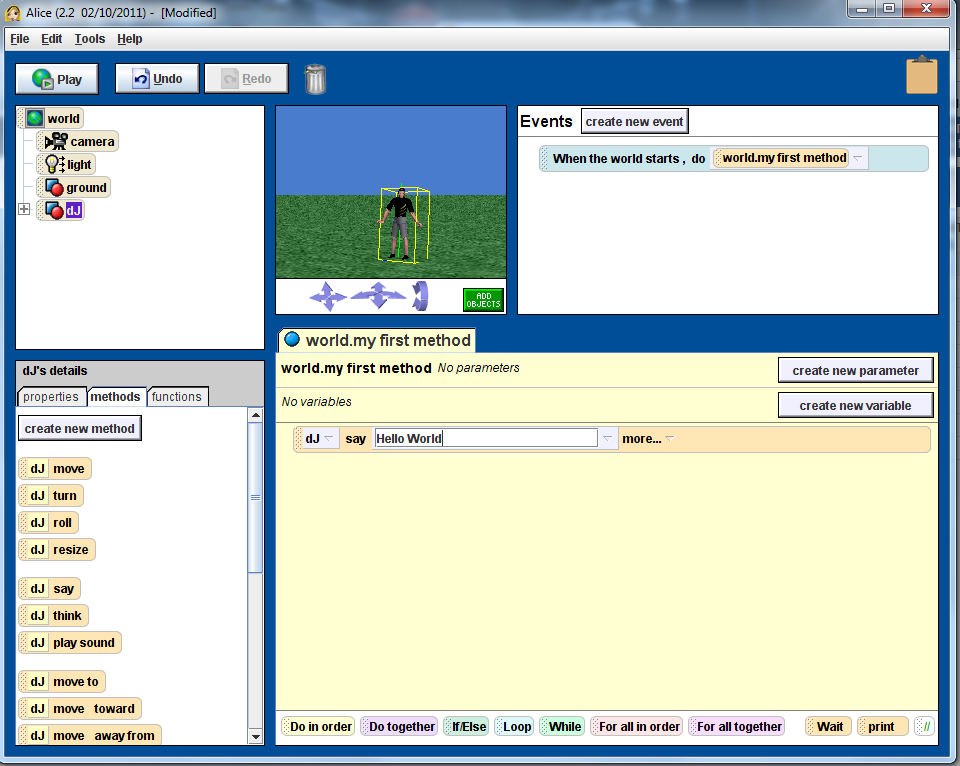
Creating the world
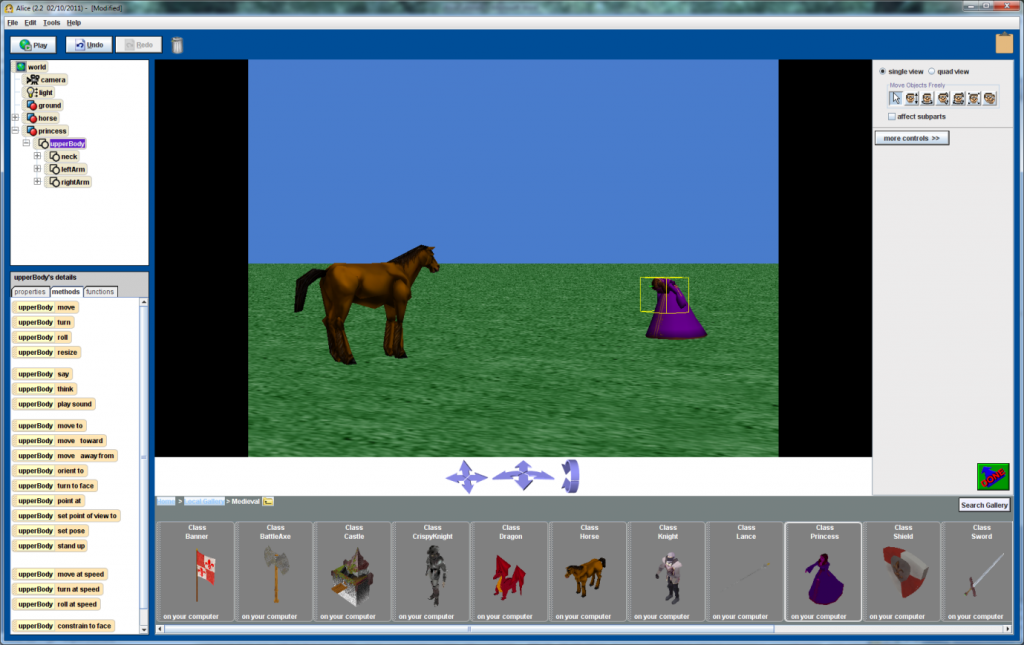
Firstly we create a new world and add a kangaroo to the world. Orient the Kangaroo so that it is facing towards the opposite side of the screen.

Setting up the world
Moving the Kangaroo
To move the Kangaroo we want to make it look like it is hopping across the screen. To do this we need to make the Kangaroo move forward at the send time that it moves up then down.
Before writing any code we will come up with a simple design.
Do Together
   Move the Kangaroo forward
   Move the Kangaroo up and down
We then refine our design by splitting the last line into two instructions, one to move the kangaroo up and the second to move the kangaroo down.
Do Together
   Move the Kangaroo forward
   Do in order
      Move the Kangaroo up
      Move the Kangaroo down
This can now be easily coded in Alice by deciding how far you wish to move the Kangaroo in each of the move commands, noting that it should move the same distance up and down. When you run the resulting program you will most likely notice a slight problem. The Kangaroo will move up and forward at the same time, then move straight down. The issue is with the timing of the each of the move commands. The default time taken to complete a command in Alice is 1 second. To fix the problem we need to complete the move up and down commands in a total of 1 second. This means that we need to change the timing for each of the last two commands to 1/2 second each. This is represented by the following updated design.
Do Together
   Move the Kangaroo forward for 1 second
   Do in order
      Move the Kangaroo up for 0.5 seconds
      Move the Kangaroo down for 0.5 seconds
To code this change we need to select the duration option from the more option list at the end of the move commands and change the time to 0.5 secs for each of the last two commands.
Repeating behaviour
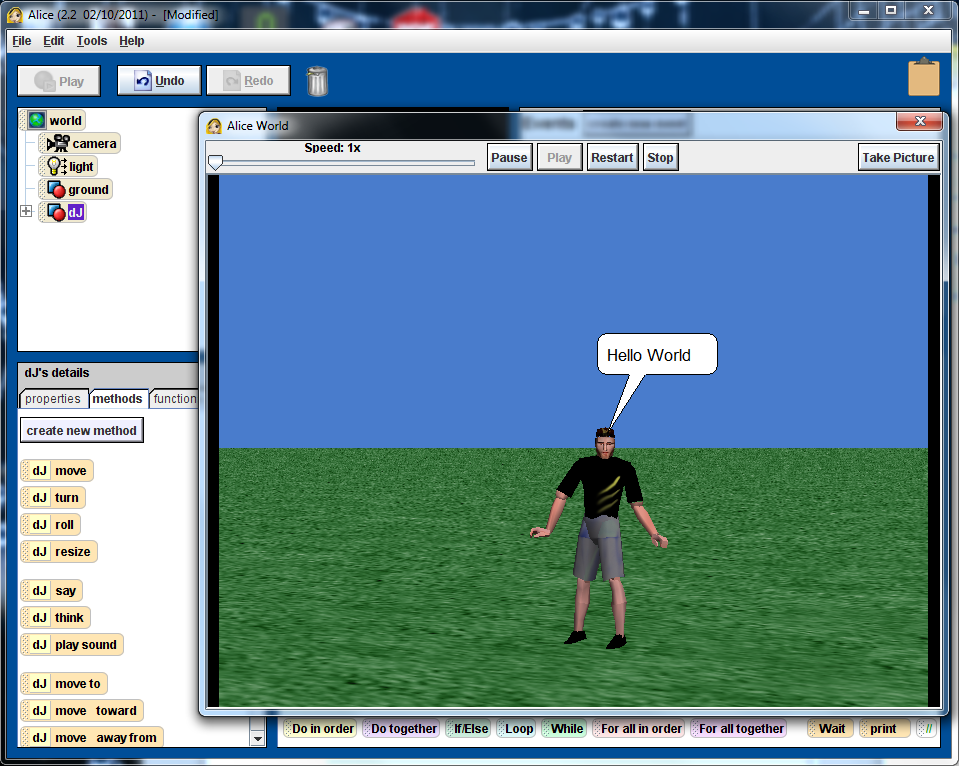
The kangaroo should now take a single hop, run your program to test that is working correctly.
One hop however is not very exciting, we wish to make the kangaroo hop multiple times. Rather than having to copy the code multiple times we will use a simple loop to repeat the behaviour.
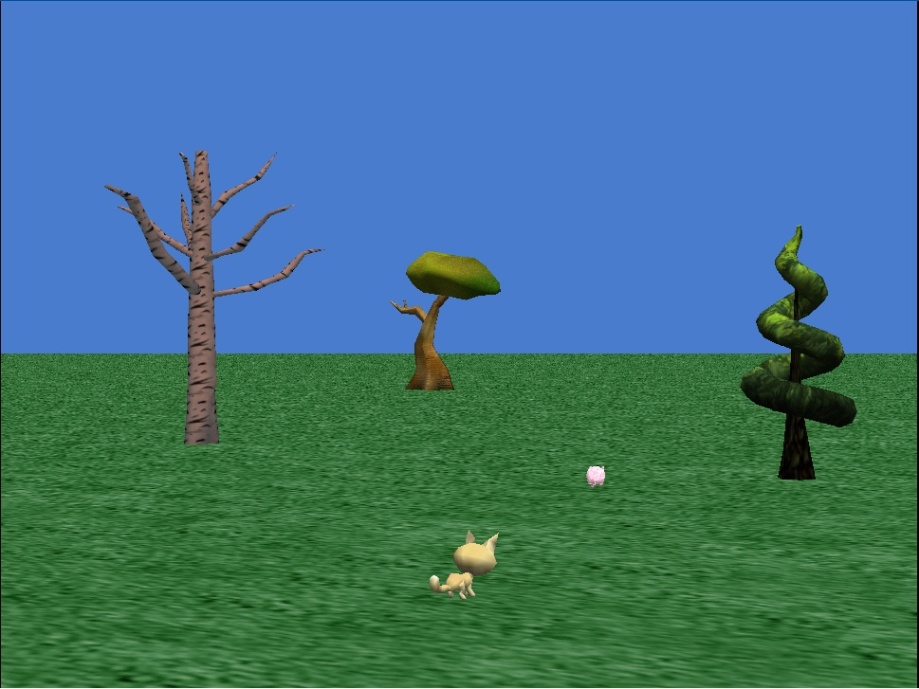
Click on the Loop button at the bottom of the screen, drag it into the programming panel (below your existing code) and select 5 times. Then drag your existing code into the loop. Run the program – the kangaroo should now hop five times across the screen.
The Final Code
The final code for the Kangaroo hop program is shown below. Notice that I’ve also added some additional code so that a sound is played as the kangaroo hops. A short delay is also introduced using the wait command.
Methods
world.my first method ( )
No variables
|
Loop 5 times times |
|
Do together |
|
kangaroo move forward 2 meters |
| Do in order |
|
Wait .1 seconds |
| kangaroo play sound world.wHOP (?:??) |
| Do in order |
|
kangaroo move up 1 meter duration = 0.5 seconds |
| kangaroo move down 1 meter duration = 0.5 seconds |

")

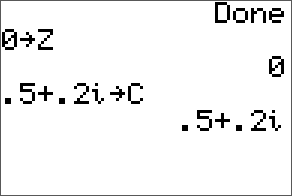
 = 0.5+0.2i")
^2+(0.5+0.2i) = 0.71+0.4i")

^2+(0.5+0.2i) = 0.8441+0.768i")